At Prime Concrete Coatings, we understand the appeal of a beautifully sealed concrete floor. Not only does it enhance the aesthetics of your space, but it also provides unmatched durability and resistance to wear and tear. Whether it’s your garage, basement, or commercial space, epoxy is a top-tier choice for sealing concrete floors. However, while DIY projects can be rewarding, sealing concrete with epoxy isn’t always straightforward and can be best handled by professionals. Here’s a comprehensive step-by-step guide to help you understand the process.
Step 1: Prepare the Surface
Thorough Cleaning
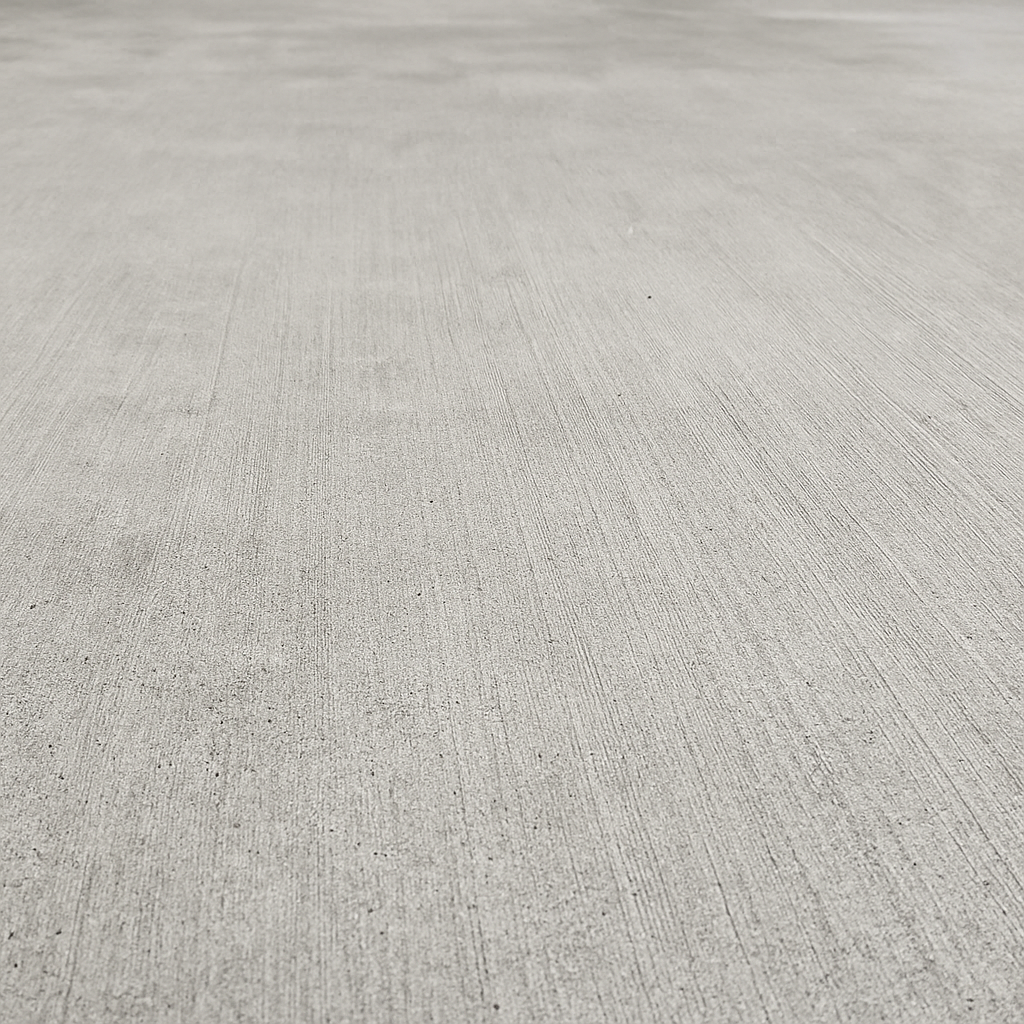
Start by cleaning the concrete surface meticulously. Remove any existing coatings, grease, oil, dirt, and debris. Using a heavy-duty concrete cleaner along with a scrub brush or pressure washer is essential for thorough cleaning. Ensure all residues are completely washed away, and let the surface dry fully.
Repair Cracks and Holes
Examine the concrete for any cracks, holes, or imperfections. Use a concrete patching compound to fill these areas, adhering strictly to the manufacturer’s instructions. Allow ample time for the repairs to cure before proceeding.
Etch the Concrete
Etching the concrete is critical for proper epoxy adhesion. Utilize a commercial concrete etcher, available at most hardware stores. Apply the etcher as per product instructions, usually involving spreading it evenly and scrubbing it with a stiff brush. Thoroughly rinse the floor and let it dry, ideally for 24 hours.
Safety Precautions
During this step, wear protective gear including gloves, goggles, and a mask to safeguard against harmful chemicals and dust. Proper ventilation is crucial to avoid inhaling fumes.
Step 2: Prime the Surface
Choose the Right Primer
Select an epoxy primer compatible with your chosen epoxy sealer. The primer enhances the epoxy’s bond with the concrete, ensuring a durable finish.
Application
Use a roller with an extension handle to apply the primer evenly. Work in small sections to keep the primer wet, avoiding streaks and uneven application. Allow the primer to dry as specified by the manufacturer, typically 6-8 hours.
Step 3: Surface Preparation with Shot Blasters & Hand Grinding
Shot Blasters
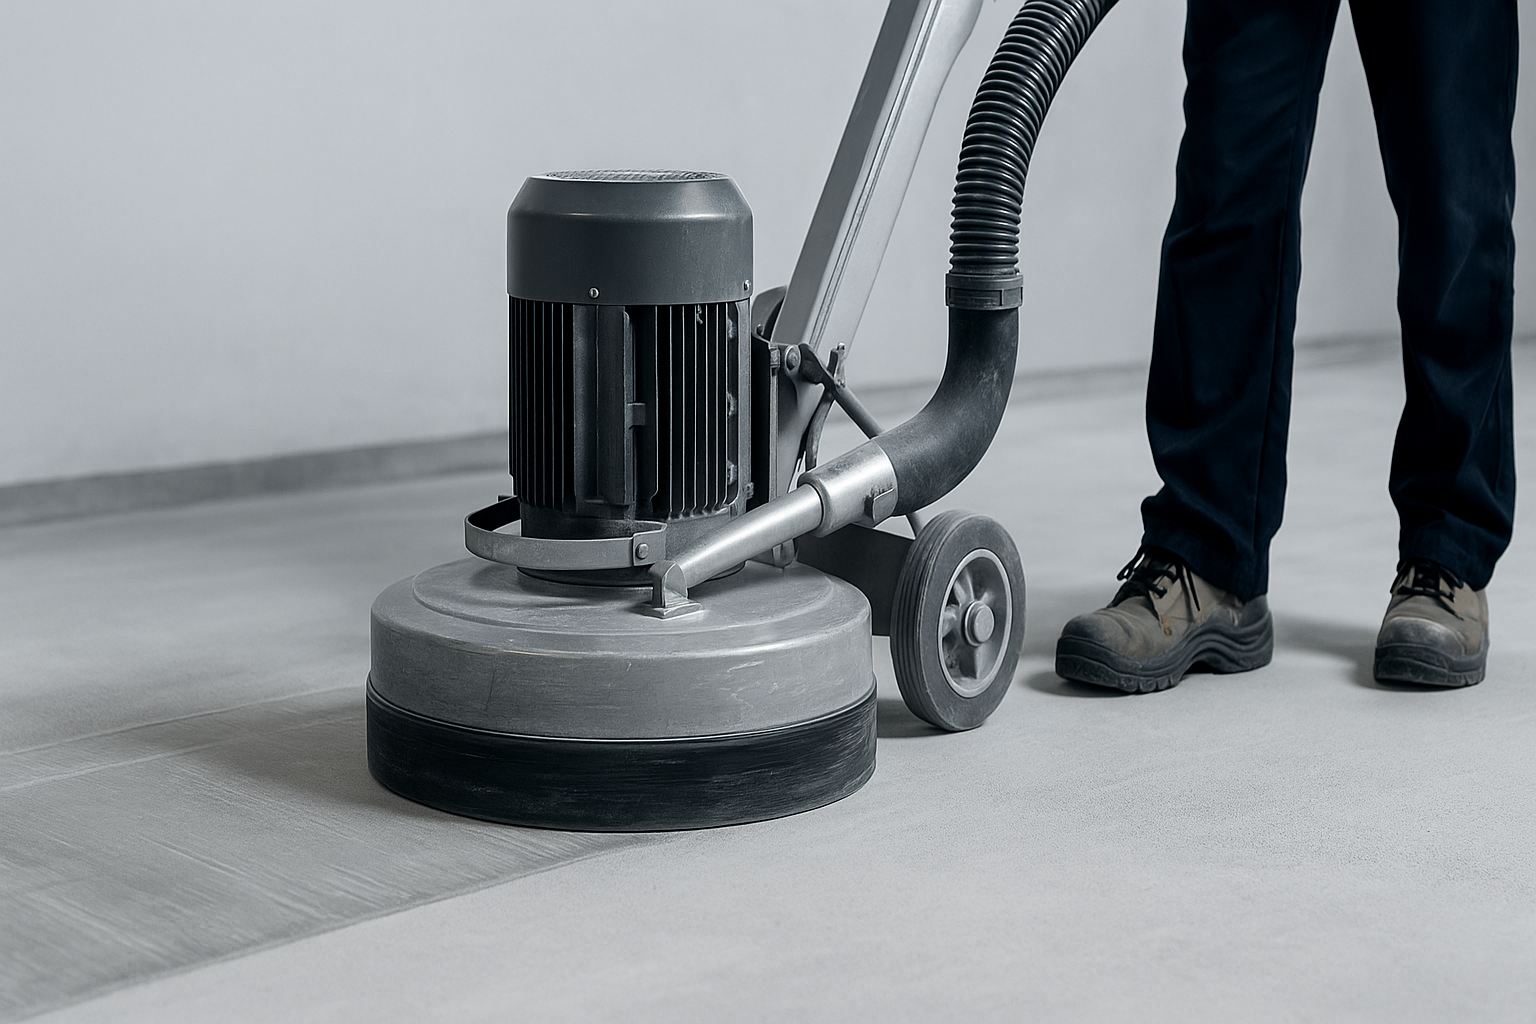
For larger areas, professionals use shot blasters to prepare the concrete surface. This machine blasts small steel beads at the floor to remove surface contaminants and create a rough texture for better epoxy adhesion.
Hand Grinding
In areas where shot blasting isn’t feasible, hand grinding is used. Hand grinders equipped with diamond blades ensure the surface is smooth and even, removing any remaining contaminants.
Safety Precautions
Operating shot blasters and hand grinders requires skill and proper safety gear, including ear protection, safety glasses, and respirators. Due to the complexity and potential hazards, it’s often best to leave this to professionals like Prime Concrete Coatings.
Step 4: Mix the Epoxy
Prepare Your Materials
Epoxy typically comes in two parts: resin and hardener. Gather all necessary tools, including mixing buckets, a drill with a mixing paddle, and application tools.
Mixing Process
Carefully follow the manufacturer’s mixing instructions. Pour the resin and hardener into a mixing bucket and blend thoroughly with the drill and mixing paddle until the mixture is consistent and smooth.
Step 5: Apply the Epoxy
Start with the Edges
Using a paintbrush or a smaller roller, apply the epoxy mixture to the edges of the floor and hard-to-reach areas first, a process known as “cutting in.”
Roll the Epoxy
Pour the epoxy onto the floor in a line and spread it evenly with a roller. Work in small sections, maintaining a wet edge to avoid seams or roller marks. Use a back-and-forth motion for an even coat.
Apply a Second Coat (Optional)
For added durability and a richer finish, apply a second coat of epoxy. Wait until the first coat is completely dry (usually 12-24 hours) before applying the second layer.
Step 6: Cure and Finish
Allow Proper Curing Time
Let the epoxy cure fully before using the floor. Curing times vary, but it’s typically safe to walk on within 24 hours and place heavy objects after 72 hours. Avoid dragging heavy objects during this period.
Add a Topcoat (Optional)
For extra protection and a glossy finish, consider applying a clear epoxy or polyurethane topcoat. This additional layer can enhance the appearance and longevity of your epoxy floor.
Why Choose Professionals?
While a DIY approach to sealing concrete floors can be tempting, it involves intricate steps and safety considerations that can be challenging for beginners. Professional services, like those offered by Prime Concrete Coatings, ensure precise application, superior results, and compliance with all safety protocols. We have the expertise and equipment, such as shot blasters and hand grinders, to deliver a flawless finish every time.
Final Thoughts
Sealing concrete floors with epoxy is an excellent way to enhance both the look and functionality of your space. With careful preparation and application, you can achieve a professional, long-lasting finish. At Prime Concrete Coatings, we’re here to help you every step of the way. Whether you need advice, supplies, or professional installation services, we’ve got you covered.
For expert advice, and top-quality products, or to schedule a professional consultation, contact Prime Concrete Coatings today!


